



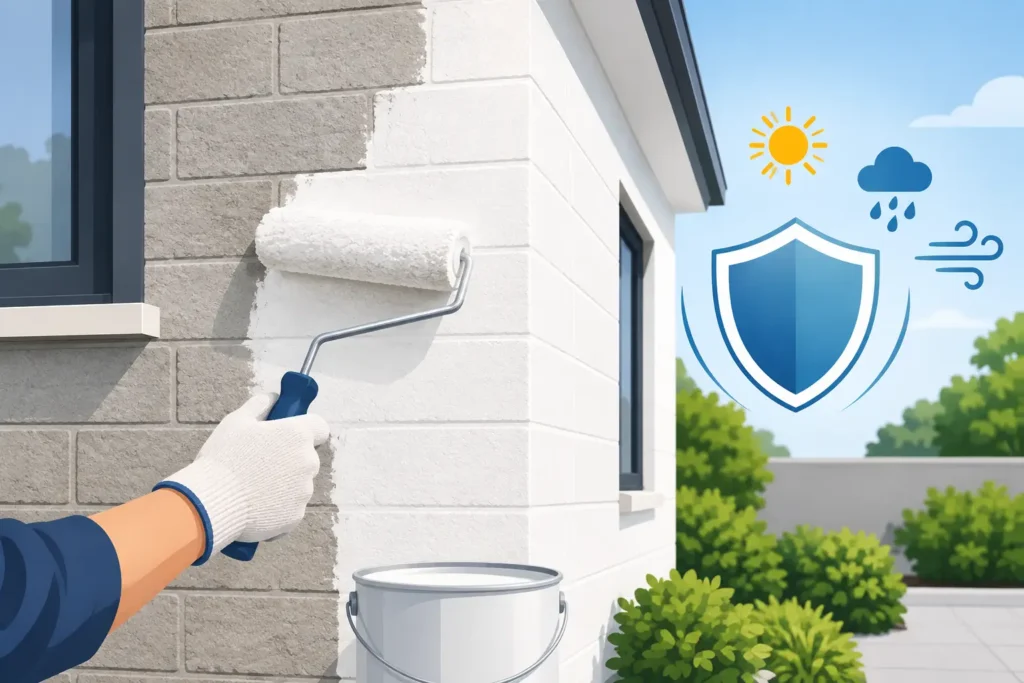
A basement paint job can look excellent on day one and fail within months if moisture is trapped behind the coating. That is why knowing how to paint basement walls starts with evaluating the wall, not choosing a color. Proper preparation protects the finish, improves the room’s appearance, and helps turn an underused basement into a cleaner, more valuable part of the property.
For homeowners, landlords, and property managers, basement painting is not a standard interior painting project. Concrete, block, old drywall, utility rooms, and below-grade conditions all require the right materials and a disciplined process. The goal is simple: clean, dry, repaired walls with a coating system built for the space.
How to Paint Basement Walls Without Paint Failure
Before opening a paint can, identify what you are painting. A finished basement may have drywall walls, while an unfinished area may have poured concrete, concrete block, brick, or a combination of surfaces. Each can be painted, but the condition of the substrate matters more than the surface type.
The biggest issue is moisture. Basement walls sit below grade, where groundwater, poor drainage, humidity, condensation, and foundation cracks can all affect the finish. Paint is not a cure for an active leak. If water is entering through the wall or collecting at the base of the foundation, correct that issue before painting. Otherwise, even quality coatings can blister, peel, or develop mildew.
Look for warning signs such as white powdery residue, damp spots, a musty smell, peeling old paint, rusted metal near walls, or staining along the floor line. White residue, known as efflorescence, means moisture has moved through masonry and left mineral deposits behind. It must be removed before coating the wall.
A simple moisture check can help. Tape a square of clear plastic tightly to a clean section of concrete and leave it for 24 to 48 hours. If moisture forms behind the plastic or the wall darkens, the surface may have a moisture issue that needs further assessment. This test is useful as an early warning, but it does not replace a professional evaluation when there are visible leaks, major cracking, or recurring dampness.
Prepare the Basement Before You Paint
Good paint does not compensate for poor preparation. Move stored items away from the walls, cover the floor, and create room to work safely. Basements often contain furnaces, water heaters, electrical panels, and plumbing lines, so plan the work area around clear access and proper protection.
For a typical basement wall project, you will need a few dependable supplies:
- Drop cloths, painter’s tape, and plastic sheeting
- A stiff brush, vacuum, sponge, and mild cleaner
- Scraper, sanding block, patching compound, and caulk
- Masonry repair material for concrete or block cracks
- Primer and paint selected for the wall material and moisture conditions
Start by removing loose paint, dust, cobwebs, dirt, grease, and efflorescence. On concrete or block, use a stiff brush to loosen residue, then vacuum the surface thoroughly. A masonry cleaner may be needed for stubborn mineral deposits, but follow the product directions and allow the wall to dry completely afterward.
Do not paint over mildew. Clean the affected area with an appropriate mildew-removing cleaner, rinse as required, and dry the surface fully. More importantly, address the humidity or water source that allowed mildew to grow. A dehumidifier, improved ventilation, insulated cold-water pipes, or foundation repairs may be part of the solution depending on the cause.
Repair Cracks, Holes, and Failed Areas
Small cosmetic cracks can often be filled with a compatible patching material. Concrete cracks, gaps around pipes, deteriorated mortar joints, and larger damaged areas need products designed for masonry repair. Remove weak or crumbling material first. Filling over loose concrete only creates another failure point.
On drywall, repair dents, nail holes, joint damage, and water-stained sections before priming. If drywall has been softened by moisture, swollen, or affected by mold, replacement may be more appropriate than patching. This is one of the key trade-offs in basement work: a quick cosmetic repair costs less now, but replacing compromised material can prevent a much larger issue later.
Caulk narrow gaps around trim, pipes, and finished wall transitions where appropriate. Avoid sealing areas that need to remain accessible or where movement is expected. Caulk is useful for finish work, but it is not a substitute for repairing foundation leaks.
Choose the Right Primer and Paint
The coating system should match the wall. For drywall in a dry, finished basement, a quality acrylic interior primer and washable latex paint are usually a practical choice. Eggshell or satin finishes offer a balance between cleanability and appearance. Flat paint can hide minor imperfections, but it is harder to clean and may not be the best option for high-traffic basement areas.
Bare concrete and concrete block require more consideration. Use a masonry primer or a coating specifically designed for concrete walls. Some products are made to resist moisture vapor and can be used on properly prepared basement masonry. They can help manage normal below-grade conditions, but they should not be sold as a fix for active water intrusion.
For utility rooms, laundry rooms, storage spaces, and rental properties, a durable satin or semi-gloss coating is often worth considering. These finishes resist scuffs and are easier to wipe down. The trade-off is that shinier paint reflects more light and can make uneven patches, rough block, or poor repairs more visible.
Color selection also matters in a basement. Light neutrals, soft whites, pale grays, and warm beige tones can make low-ceilinged or windowless rooms feel brighter. A very bright white can look harsh under cool LED lighting, while a warmer off-white often makes concrete and drywall feel less sterile. Test samples under the actual basement lighting before committing to a full room.
Apply Paint in the Right Order
Only begin once the walls are clean, repaired, and dry. Conditions matter. Avoid painting in a damp basement immediately after heavy rain, a plumbing leak, or a flooding event. Run ventilation and a dehumidifier if needed, but do not rush drying time.
Cut in along ceilings, corners, trim, and around mechanical equipment with a quality angled brush. Roll large wall areas in manageable sections, maintaining a wet edge to reduce lap marks. For rough concrete block, use a thicker nap roller so the coating reaches into the texture. Smooth drywall generally performs better with a shorter nap roller for a more uniform finish.
Apply primer first when the surface is bare, patched, stained, highly porous, or changing dramatically in color. Let it dry according to the manufacturer’s recommended recoat time. Then apply two even coats of finish paint rather than trying to force coverage with one heavy coat. Heavy coats can sag, dry unevenly, and trap moisture in less-than-ideal basement conditions.
Pay attention to edges near floors. If a basement slab has visible moisture or water staining, do not simply paint the wall down to the floor and hope for the best. Investigate the source. Exterior grading, downspouts, drainage systems, sump pumps, and plumbing can all contribute to moisture at the foundation line.
Allow the Coating to Cure
Dry to the touch is not the same as fully cured. Keep storage bins, furniture, shelving, and framed items away from freshly painted walls until the coating has had time to harden. Good air movement helps, but strong heat or poor ventilation can cause uneven drying.
After the project, keep humidity under control. Many basements benefit from a dehumidifier, particularly during humid weather. Check walls periodically for new staining, bubbling paint, or musty odors. Catching a moisture issue early is far easier than stripping failed paint and repairing finished surfaces later.
When Professional Basement Painting Makes Sense
A homeowner can handle a small, dry basement refresh with the right preparation. Professional help becomes the smarter choice when there are recurring leaks, widespread efflorescence, damaged drywall, extensive cracks, high ceilings, occupied rental units, or a large unfinished basement requiring a consistent coating system.
For commercial properties, condo common areas, and multi-unit buildings, the work also needs to be coordinated around access, safety, cleanliness, and minimal disruption. Experienced painters can assess surface conditions, recommend appropriate primers and finishes, complete drywall or masonry repairs, and deliver a cleaner result without leaving the property covered in dust and overspray.
JXF Painting Service approaches basement projects with the same practical standard used for residential, commercial, and industrial work: assess the surface, prepare it correctly, use proven materials, and complete the job cleanly. A clear scope before work begins prevents surprises and helps ensure the finished walls perform as well as they look.
A freshly painted basement should feel like usable space, not a room waiting for the next problem. If the walls are dry, sound, and properly coated, the finish can make the area brighter, easier to maintain, and ready for whatever purpose the property needs next.