

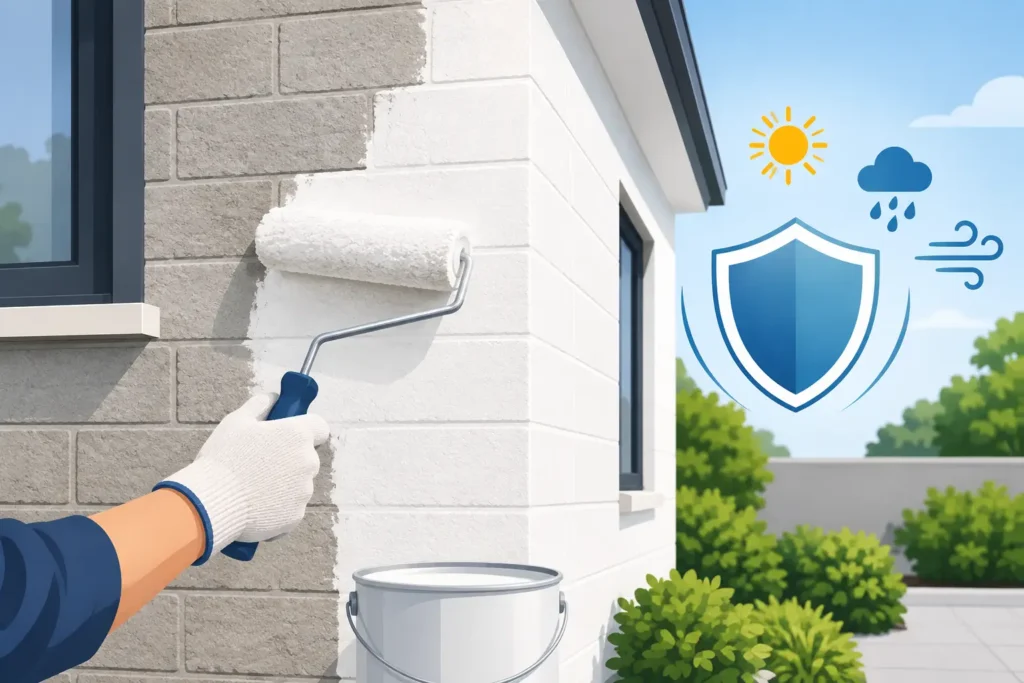
A new exterior paint job can fail long before the first coat dries. Peeling paint, damp siding, loose caulking, and overlooked repairs will show through a fresh finish or cause it to break down early. This exterior painting preparation guide covers the work that protects your investment and gives the paint a clean, sound surface to hold onto.
For homeowners, landlords, and property managers, preparation is where a professional project separates itself from a quick cosmetic update. The visible color gets the attention, but surface condition, weather planning, and correct primers determine how long that color lasts.
Start With a Full Exterior Assessment
Walk the property before choosing paint or setting a start date. Look at every painted surface in daylight, including siding, trim, soffits, fascia, doors, window frames, railings, decks, fences, brick, stucco, and metal features. The goal is to identify the cause of damage, not just cover the symptom.
Pay close attention to areas near rooflines, gutters, downspouts, doors, windows, and ground level. Water exposure is the most common reason exterior coatings blister, peel, or stain. A leaking gutter or failed window seal can ruin new paint in a single season, so those repairs should be handled before painting begins.
On commercial properties, the inspection should also account for access, public safety, tenant activity, loading areas, and equipment. A warehouse wall may need a different coating system than an office storefront, even when both appear to need only a repaint. Surface material, exposure, and daily use all affect the scope.
Clean the Surface Before Any Repair or Paint
Paint does not bond well to chalk, dirt, mildew, salt, pollen, grease, or loose old coating. Washing is not an optional cleanup step. It is the foundation of the job.
Most exterior surfaces benefit from a controlled pressure wash, followed by adequate drying time. Pressure must match the material. Too much force can scar wood, drive water behind siding, damage mortar, or strip stucco. Too little force leaves contaminants behind. Delicate surfaces may require soft washing, hand scrubbing, or a targeted cleaner instead.
Mildew and algae need more than water. They should be treated with an appropriate exterior cleaning solution, then rinsed thoroughly. If the growth is not removed, it can continue beneath the new coating and lead to discoloration or adhesion problems.
Allow surfaces to dry completely after washing. The required time depends on humidity, shade, material type, and weather conditions. Wood and porous masonry often need more drying time than vinyl or metal. Painting damp surfaces is a shortcut that usually becomes an expensive repair.
Protect Landscaping, Fixtures, and Access Points
Preparation also means protecting what should not be painted. Cover landscaping where needed, move outdoor furniture, protect light fixtures, mask glass, and secure nearby vehicles. For multi-unit and commercial sites, clearly mark work zones and keep entrances, walkways, and fire exits accessible.
A clean jobsite reduces risk and makes it easier to work efficiently. It also prevents overspray, splatter, and dust from becoming avoidable problems at the end of the project.
Remove Failed Paint and Repair the Substrate
After cleaning, loose and failing paint must be removed. Scraping, sanding, wire brushing, or mechanical preparation may be used depending on the surface and extent of failure. The objective is not always to strip every inch of old paint. It is to remove unsound material and feather the remaining edges so they do not show through the final finish.
Wood surfaces should be checked for rot, splitting, popped nails, and soft areas. Replace deteriorated boards rather than painting over them. Exterior paint can protect sound wood, but it cannot restore wood that has already failed.
Cracks, holes, gaps, and damaged trim should be repaired with materials rated for exterior use. On stucco, hairline cracks may need flexible patching compounds, while larger cracks can point to movement or water intrusion that deserves a closer assessment. Masonry surfaces should be checked for crumbling mortar, efflorescence, and signs of moisture behind the wall.
Metal requires its own approach. Rust must be removed or stabilized before priming, and bare metal needs a compatible rust-inhibitive primer. Painting over corrosion without proper preparation may improve appearance briefly, but the rust will continue to spread underneath.
Older buildings require added caution. If paint may contain lead, especially on properties built before 1978, do not dry scrape or sand without proper containment and safe work practices. This is a situation where trained professionals should handle the assessment and preparation.
Caulk Gaps, But Do Not Seal in Problems
Quality caulking improves both appearance and weather resistance. It closes small gaps around trim, windows, doors, siding joints, and penetrations where water can enter. Use a paintable exterior-grade caulk that remains flexible through temperature changes.
Caulk is not a substitute for a failed seal, rotted wood, or a gap that needs flashing. It also should not be used where drainage is required, such as weep holes in certain window systems or siding details. Sealing the wrong opening can trap moisture and create a larger repair later.
Apply caulk neatly, smooth it immediately, and allow it to cure according to the product requirements before painting. Rushed caulking can shrink, crack, or pull away from the surface under a new coat.
Prime Bare Areas and Difficult Surfaces
Primer is not always required across every previously painted surface, but it is essential in the right places. Bare wood, repaired areas, exposed metal, patched stucco, stained surfaces, and heavily weathered sections usually need a compatible primer before topcoats are applied.
The correct primer depends on the substrate and the issue being addressed. Stain-blocking primers help cover tannin bleed from cedar or redwood. Bonding primers improve adhesion on slick or glossy surfaces. Masonry primers can help manage porous surfaces. Rust-inhibitive primers protect prepared metal.
A common mistake is assuming that paint-and-primer products replace targeted priming in every condition. They can perform well on sound, uniform surfaces, but they are not a cure for bare wood, stains, corrosion, or adhesion failures. Product selection should follow the condition of the surface, not the label convenience.
Check Weather Conditions and Plan the Work Window
Exterior painting depends on conditions. Temperature, humidity, wind, rain, direct sun, and overnight lows all affect how coatings apply and cure. Even premium paint can fail if it is applied outside the manufacturer’s recommended range.
Avoid painting when rain is expected before the coating has time to dry, or when dew may form shortly after application. Direct afternoon sun can make a surface too hot, causing paint to dry too quickly and leaving lap marks or poor adhesion. Wind can carry dust and debris onto wet paint and make spray applications difficult to control.
In Toronto and across the GTA, changing spring and fall weather makes scheduling especially important. A professional crew plans the sequence around exposure and forecast conditions, often working shaded elevations first and returning to sun-facing areas when temperatures are suitable.
Prepare for the Right Application Method
Brushes, rollers, and sprayers all have a place in exterior painting. Spraying can cover broad siding areas efficiently, but it requires extensive masking and controlled conditions. Brushing and rolling provide more control around trim, masonry details, and occupied properties. Many quality projects use a combination of methods.
Before painting starts, confirm that ladders, lifts, scaffolding, and fall protection are appropriate for the property. Access is not just a production issue. It affects safety, finish quality, and the ability to properly prepare high areas such as eaves, gables, and upper-story trim.
For commercial buildings, coordinate access with building operations in advance. Delivery schedules, customer entrances, parking areas, and tenant hours may determine when washing, scraping, priming, and painting can take place with minimal disruption.
Final Checklist Before the First Coat
Before the first coat goes on, the surface should be clean, dry, dull or properly abraded, repaired, caulked where appropriate, and primed where needed. Nearby property should be protected, weather should be within range, and the crew should have safe access to every area in the scope.
This stage is also the time to confirm colors, sheen, coating type, and approved project details. Changing products or colors after preparation has begun can delay the work and create unnecessary waste. Clear decisions upfront keep the project moving and help deliver a consistent finish.
JXF Painting Service approaches exterior work with this preparation-first standard because the finish is only as dependable as the surface below it. Whether you are maintaining a home, refreshing a condo property, or protecting a commercial building, take the time to correct the underlying issues before applying color. That is how exterior paint stays sharp, protects the structure, and earns its value year after year.