



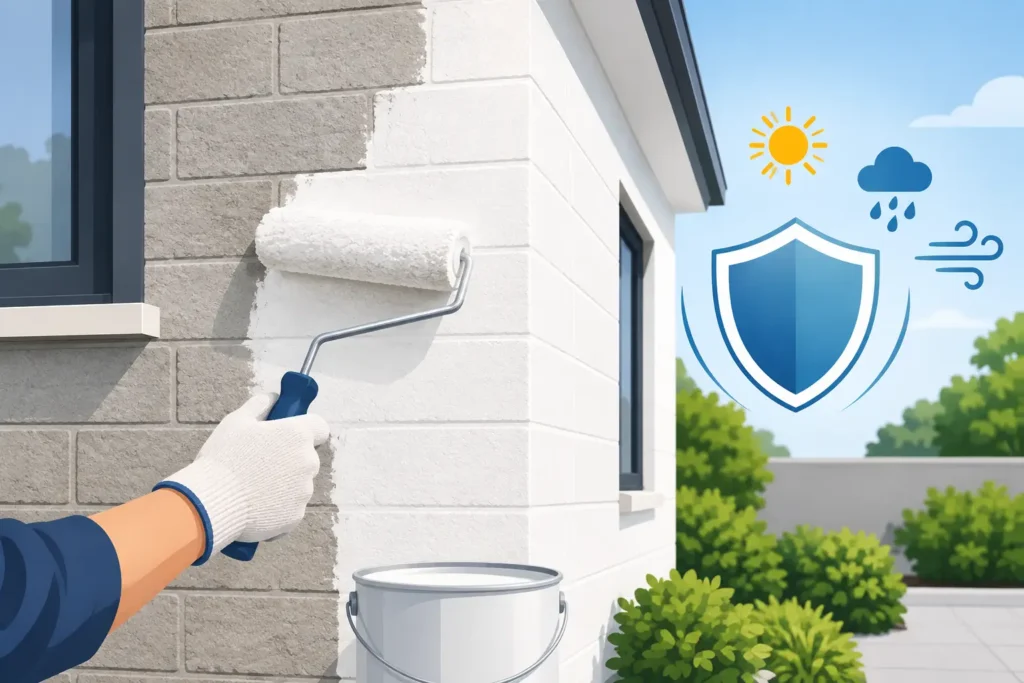
A paint job can look straightforward until furniture has to move, drywall damage appears behind a picture frame, and the chosen color looks different under evening light. A strong residential painting project planning guide prevents those costly surprises. It gives homeowners a clear scope, realistic schedule, and finish standard before work begins.
Start Your Residential Painting Project Planning Guide With Scope
The first decision is not color. It is determining exactly what needs to be painted, repaired, protected, and left untouched. Walk through each room or exterior elevation and document the surfaces involved: walls, ceilings, baseboards, doors, window trim, cabinets, railings, siding, stucco, decks, or fences.
Be specific about the condition of each surface. A bedroom with minor scuffs requires a different plan than a room with water staining, loose tape joints, nail pops, cracks, or damaged drywall. Exterior surfaces also need a close inspection for peeling paint, exposed wood, mildew, failed caulking, rust, and weather damage. Painting over those issues may improve appearance briefly, but it will not provide a lasting result.
Define the project room by room. State which colors go where, whether ceilings and closets are included, how many doors and trim pieces need refinishing, and whether repairs are part of the scope. This level of detail protects both the homeowner and the contractor from assumptions that turn into change orders later.
Set Priorities, Budget, and Timing
Not every home needs every surface painted at once. If the budget is limited, prioritize areas that affect daily use, maintenance, or resale value. High-traffic hallways, kitchens, bathrooms, entryways, and worn trim often deliver the strongest visible improvement. For exterior work, surfaces with failing paint, moisture exposure, or deteriorating caulk should come before purely cosmetic updates.
Build the budget around more than gallons of paint. Professional pricing typically reflects surface preparation, repairs, masking, material quality, access requirements, labor, cleanup, and the number of coats required for proper coverage. A low quote that excludes prep work or uses inadequate coatings can become the more expensive choice when the finish fails early.
Timing also matters. Interior painting can be scheduled year-round, but family routines should be considered. Plan around major events, new flooring installation, kitchen renovations, move-in dates, and periods when rooms must remain usable. Exterior work depends on dry conditions and suitable temperatures. In Toronto and the GTA, seasonal weather can narrow the ideal working window, so booking ahead helps secure a practical schedule.
Choose Colors and Sheens for Real-Life Use
Color samples should be viewed on the actual wall, not just on a small paper chip. Light changes throughout the day, and nearby flooring, countertops, furniture, and window exposure all affect how a color reads. Apply sample swatches in more than one location and check them in morning, afternoon, and artificial light before committing.
Sheen selection deserves the same attention. Flat finishes help hide minor wall imperfections and are often used on ceilings or low-traffic spaces. Eggshell and satin offer more washability for living areas, hallways, and bedrooms. Semi-gloss is a practical choice for trim, doors, bathrooms, and other surfaces that need frequent cleaning. Higher sheen highlights surface flaws, so it demands better preparation.
For a cohesive home, limit abrupt color changes between connected spaces. A neutral main color with carefully selected accent walls, trim, or doors can create a polished result without making the project difficult to maintain. If a home will be listed for sale soon, broad-appeal colors are usually a safer investment than highly personal choices.
Preparation Determines the Quality of the Finish
Paint does not fix damaged surfaces. It follows them. Proper preparation is the work that separates a clean, durable finish from one that shows patch lines, peeling edges, roller marks, and stains soon after completion.
Interior preparation may include protecting floors and furnishings, removing switch plates, filling holes, repairing drywall, sanding patches, caulking trim gaps, spot-priming stains, and cleaning greasy or dusty surfaces. Bathrooms, kitchens, and laundry rooms often need additional cleaning because moisture and residue can interfere with adhesion.
Exterior preparation can be more demanding. Loose paint must be removed, bare areas need the right primer, cracks and gaps should be sealed, and mildew must be treated rather than painted over. Wood rot, damaged stucco, and unstable surfaces should be repaired before coating begins. The right paint system depends on the material beneath it, whether that is wood, brick, aluminum, vinyl, stucco, metal, or previously painted masonry.
Before work starts, confirm who is responsible for moving furniture, taking down wall decor, trimming back landscaping, and providing access to gates, garages, or parking. A professional crew will protect the work area, but clear access and early coordination keep the project moving efficiently.
Get a Quote That Matches the Actual Work
A useful quote should describe the work, not simply provide a number. It should identify the rooms or exterior areas included, expected preparation and repair work, coating type, number of coats where applicable, and the cleanup process. It should also explain how additional repairs or requested changes will be handled if they are discovered after work begins.
Ask practical questions before approving the work. Confirm the expected start date and duration, who will supervise the job, how the crew will protect your property, and whether the contractor is licensed, bonded, and insured. These details matter when workers are inside your home or using ladders, sprayers, and equipment around your property.
It also helps to discuss finish expectations early. Existing walls may have uneven texture, old repairs, or prior paint failures that affect the final appearance. A dependable contractor will explain what can be corrected through standard preparation and what may require more extensive repair. JXF Painting Service approaches residential work through on-site assessment and clear project scoping so homeowners know what is included before the crew begins.
Prepare the Home for Painting Day
A little organization before the crew arrives makes a major difference. Remove small valuables, electronics, fragile decor, and personal items from the work area. Clear countertops and shelves where possible, secure pets, and make arrangements for children or anyone sensitive to paint odors and jobsite activity.
For larger projects, decide how your household will function while rooms are being painted. You may need to use another bathroom, set up a temporary work area, or avoid certain rooms while coatings dry. Doors, trim, cabinets, and floors often require careful sequencing, so access may be limited for part of the day.
Keep one person available to answer questions and approve minor decisions. Fast communication is valuable when a hidden repair, color concern, or access issue comes up. It prevents delays and ensures the crew can keep working to the agreed plan.
Inspect the Work Before Final Sign-Off
The best time to inspect is when the work is complete and the protective coverings are being removed. Review the finish in normal lighting and look at walls from different angles. Check trim lines, corners, repaired areas, doors, ceilings, and surfaces around fixtures. Small touch-ups are normal, especially on detailed trim work, and should be addressed before final completion.
Do not judge fresh paint too quickly. Some coatings need time to cure before they reach their final hardness and washability. Follow the contractor’s guidance on when to reinstall hardware, place furniture against walls, clean painted surfaces, or use newly finished cabinets and doors.
A well-planned project makes the final walk-through straightforward. Start with a defined scope, insist on proper preparation, and choose materials suited to the surfaces and how your household actually lives. Those decisions give your home a finish that looks sharp on day one and continues to perform long after the paint dries.