


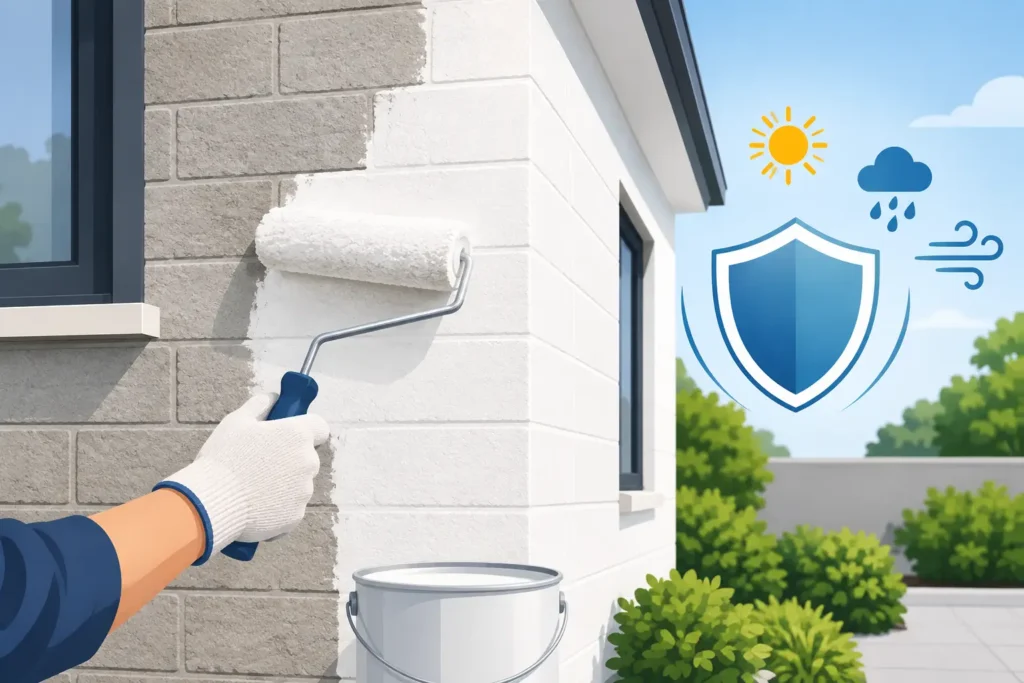
A fresh coat of paint will not fix failing stucco. If the wall is chalky, cracked, stained, or holding moisture, paint can look good for a short time and then start peeling, blistering, or showing every flaw underneath. Proper surface prep for exterior stucco is what separates a short-term cosmetic update from a finish that protects the property and holds up through changing weather.
For homeowners, landlords, and facility managers, preparation is where the real value is. It determines how well the coating bonds, how evenly it dries, and whether small defects are handled before they become larger repairs.
Why exterior stucco needs careful preparation
Stucco is durable, but it is not maintenance-free. Its textured surface catches dirt, airborne pollutants, mildew, and loose paint. It can also develop hairline cracks as a building settles or as temperatures shift. In areas with wet springs, hot summers, and freeze-thaw cycles, those small openings can let moisture move behind the coating.
Painting over contamination or loose material creates a weak bond. The new paint adheres to the failed layer below it instead of to solid stucco. That is why peeling paint is often not a paint-quality issue. It is a preparation issue.
The right approach depends on the condition of the surface. A newer wall with sound paint may need cleaning and minor caulking. An older building with widespread chalking, exposed patches, or cracking may need more extensive repairs, priming, and moisture investigation before any finish coat is applied.
Start with a close exterior inspection
Before washing or scraping, inspect the stucco in good daylight. Look for peeling paint, powdery residue, cracks, impact damage, stains below windows, efflorescence, and dark areas that may indicate mildew or trapped moisture. Check around rooflines, downspouts, vents, windows, doors, and grade-level areas where water is most likely to collect.
Hairline cracks are common in stucco, but they should not simply be ignored. Stable, narrow cracks can usually be filled with a compatible flexible exterior patch or elastomeric caulk. Wider cracks, crumbling sections, or cracks that continue through masonry joints may point to movement or water damage that needs repair before painting.
Pay attention to white, crusty deposits as well. This is often efflorescence, caused when moisture carries salts to the surface. It must be removed and the moisture source addressed. Covering it with paint may hide it temporarily, but the pressure behind the coating can lead to premature failure.
Clean the stucco without damaging it
Exterior stucco needs a clean, sound surface before it can be primed or painted. Dust, dirt, soot, pollen, spider webs, and chalky paint all interfere with adhesion. Cleaning also makes cracks and repairs easier to see.
A low-pressure wash is often effective, especially when paired with a suitable exterior cleaner. The goal is to remove surface contamination, not force water into cracks, window details, or loose stucco. High pressure can gouge textured finishes, dislodge weak material, and drive water behind the wall. That creates a bigger problem than the one you started with.
Mildew and algae require more than plain water. Treat the affected areas with an appropriate cleaner, allow it to work as directed, then rinse thoroughly. Any cleaner left on the wall can interfere with paint adhesion, so rinsing matters just as much as the cleaning step.
After washing, give the stucco adequate time to dry. Drying time varies with shade, humidity, wall thickness, and recent weather. A surface may feel dry while moisture remains in cracks or behind the finish. Painting damp stucco can trap water and cause blistering, staining, or peeling later.
Remove loose paint and unstable material
Once the wall is dry, remove any peeling, flaking, or poorly bonded paint. Scraping and wire brushing are common methods for localized failures. The objective is to reach a firm edge where the existing coating is still well attached.
Do not assume every old painted surface needs to be stripped completely. Full removal is usually unnecessary when most of the coating remains sound. However, widespread peeling or heavy chalking may justify a more aggressive preparation plan. The condition of the existing coating should determine the scope of work, not a one-size-fits-all process.
Feather rough paint edges where practical so the repaired area does not telegraph through the final finish. On heavily textured stucco, some variation is normal, but sharp edges and loose fragments will remain visible after painting.
Repair cracks before applying primer
Crack repair is a key part of surface prep for exterior stucco. The repair material must be compatible with the wall and flexible enough for the type of movement expected. Rigid fillers can crack again quickly when used in areas that shift seasonally.
Small, non-moving cracks may be filled and tooled to match the surrounding texture as closely as possible. Larger damaged areas may require patching with a stucco repair compound or a more involved repair system. Matching texture takes experience. A smooth patch in the middle of a rough stucco wall will stand out even after two coats of paint.
Caulk is best reserved for gaps at transitions, such as where stucco meets window trim, door frames, flashing, or other materials. It is not a substitute for repairing broad cracks across the face of the stucco. Using the wrong product in the wrong location can create visible lines and reduce the life of the repair.
Prime based on the wall’s condition
Primer is not always required across every square foot of previously painted stucco, but it is often necessary on bare patches, repaired areas, chalky surfaces, and places where stains have been treated. A quality masonry or bonding primer helps create a consistent surface for the finish coats.
If the wall has significant chalking, use a primer designed to bind the remaining residue after proper cleaning. If stains from rust, water, or tannin are present, choose a primer that addresses the specific stain. Priming only for color change is a different decision. A dramatic switch from dark to light may benefit from a tinted primer or an extra finish coat, depending on the paint system.
The best choice depends on the substrate, the condition of old coatings, and the finish product being applied. Primer and paint should work as a system. Mixing products without checking compatibility can lead to adhesion or sheen problems.
Choose a coating that can handle stucco
Stucco expands and contracts slightly, and its texture needs enough coating coverage to seal evenly. Exterior acrylic paint is a common choice because it offers good adhesion, breathability, and weather resistance. For walls with numerous repaired hairline cracks, an elastomeric coating may be worth considering because it can bridge minor surface movement.
There is a trade-off. Elastomeric coatings can provide added crack-bridging protection, but they must be applied at the proper thickness and are not the right answer for every wall. They will not solve structural cracking, active leaks, or loose stucco. A thorough assessment should come before selecting the coating.
Application method matters, too. Spraying can cover the deep texture efficiently, but back-rolling is often needed to work paint into the surface and create an even finish. A professional crew protects windows, landscaping, walkways, and adjacent materials before work begins, then applies the specified number of coats at the proper spread rate.
Plan around weather and moisture
Exterior paint needs suitable temperature, humidity, and dry-time conditions. Avoid painting when rain is expected before the coating can cure, when the wall is wet from overnight condensation, or when temperatures are outside the manufacturer’s recommended range. Direct sun can also cause paint to dry too fast on some elevations, making it harder to maintain a uniform appearance.
For commercial properties and multi-unit buildings, preparation should also account for access, occupant safety, and daily operations. Proper containment, clean work areas, and clear scheduling reduce disruption while protecting the property.
A lasting stucco finish starts long before the first coat goes on. JXF Painting Service approaches exterior work by assessing the wall, correcting the issues that affect adhesion, and applying the right coating system for the property. If the stucco shows cracking, peeling, staining, or chalking, address it now – before a small surface issue becomes a larger repair.