
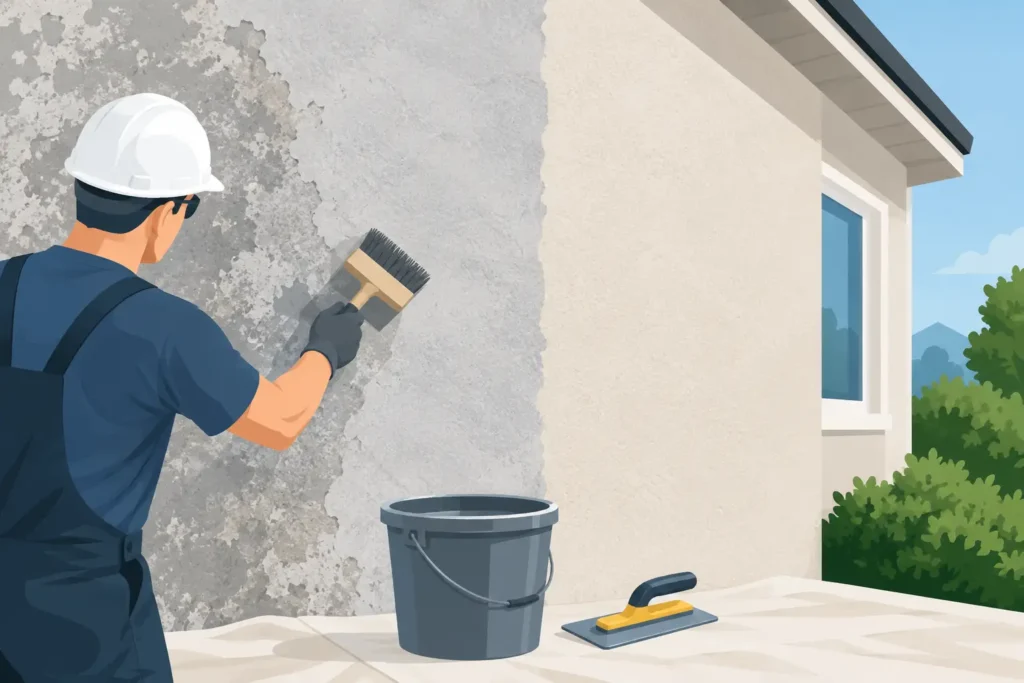



A worn office wall tells people more than most businesses intend. Scuffs around door frames, faded paint near windows, old patch repairs, and marked-up meeting rooms can make an otherwise well-run workplace feel neglected. Knowing how to repaint office walls properly means more than choosing a new color. It means protecting operations, preparing surfaces correctly, and delivering a clean finish without turning the office into a job site for a week.
For occupied offices, the best painting plan balances appearance, durability, schedule, and indoor air quality. A fast coat over dirty or damaged drywall may look acceptable for a short time, but it will not hold up. Proper preparation is what separates a temporary refresh from a professional result.
Start With a Walk-Through and Clear Scope
Before ordering paint or moving a single desk, inspect every wall under normal office lighting. Look for nail holes, dents, peeling paint, water stains, cracks, drywall seams, and high-traffic damage around reception areas, corridors, elevators, kitchens, and boardrooms. These conditions determine whether the job requires simple touch-ups, full-wall repainting, drywall repair, stain-blocking primer, or more extensive surface work.
A walk-through should also identify what cannot be interrupted. Reception areas may need to stay presentable during business hours. Conference rooms may be booked throughout the week. IT rooms, storage areas, and executive offices may need separate access plans. In a busy office, painting one large area at a time is often less disruptive than trying to work everywhere at once.
Confirm the scope before work begins: which rooms are included, which walls receive accent colors, whether ceilings, doors, trim, and baseboards are part of the project, and who will move furniture or wall-mounted items. Clear scope prevents delays and change orders after the crew arrives.
Choose Paint That Fits the Office Environment
Office walls need paint that can take daily contact. Flat paint hides minor surface imperfections, but it is harder to clean and can show marks quickly in hallways or shared workspaces. For most offices, eggshell or satin provides a more practical balance of appearance and washability. Semi-gloss is usually best reserved for trim, doors, and other high-contact surfaces because its shine can highlight drywall flaws.
Low- or zero-VOC interior paint is the right choice for occupied workplaces. It reduces odor and helps make it easier for staff to return to the space sooner. Even low-odor coatings need ventilation and drying time, especially in smaller offices with limited airflow.
Color should support the work being done in the space. Soft whites, warm grays, muted blues, and balanced neutrals tend to work well across open offices and client-facing areas. Strong brand colors can be effective on a feature wall, behind reception, or in a collaboration zone, but using an intense color on every wall can make a room feel smaller or visually tiring.
Always test sample colors on the actual wall. Daylight, LED fixtures, window direction, flooring, and glass partitions can change how a color reads. A color that looks clean on a sample card may look cold, yellow, or darker once it covers an entire wall.
How to Repaint Office Walls With Proper Preparation
Preparation takes time, but it is where the quality of the finished job is decided. Paint will not hide loose drywall tape, greasy fingerprints, adhesive residue, or uneven patches. It will only seal those problems into the wall.
Start by removing artwork, signage, outlet covers where practical, and detachable wall fixtures. Label items so they can be returned to the correct location. Move furniture away from walls or group it in the center of the room, then cover it with clean plastic and drop cloths. Floors, baseboards, glass panels, door hardware, and workstations need protection before sanding or painting starts.
Next, clean the walls. In most office settings, a mild cleaner or degreaser removes fingerprints, dust, and residue around light switches, kitchen areas, and doorways. Walls must dry fully before repairs or paint are applied.
Repair nail holes, dents, cracks, and damaged drywall with the appropriate filler or joint compound. Larger holes and failed seams may need drywall patching rather than a quick skim coat. Once repairs are dry, sand them smooth and feather the edges into the surrounding wall. Remove all sanding dust with a vacuum or damp microfiber cloth.
Use primer where it is needed. Bare drywall repairs, major color changes, water stains, marker stains, and areas with uneven sheen should be primed before finish paint. Skipping primer can lead to flashing, where repaired areas reflect light differently from the rest of the wall. It can also force extra coats of finish paint, which adds time and cost.
Plan the Work Around Office Operations
The best repainting schedule depends on how the office functions. A small professional office may be painted over a weekend. A larger floor with staff, tenants, and frequent client traffic may require evening work, phased scheduling, or work completed one department at a time.
Protecting daily operations requires more than arriving after hours. The crew needs access to lighting, ventilation, washrooms, loading areas, and secure entry points. Building management may require advance notice, elevator bookings, insurance documentation, and restrictions on noise or work hours. These details should be handled before the start date, not while painters are waiting in the lobby.
For larger projects, divide the office into workable zones. Complete one zone from preparation through final coat before moving to the next. This keeps the work contained, makes cleanup easier, and gives staff a clear understanding of which areas are temporarily unavailable.
A reliable office painting plan should account for these practical controls:
- Furniture protection and orderly relocation
- Dust containment during drywall repairs and sanding
- Low-odor products and ventilation planning
- Clearly marked wet-paint areas and safe walkways
- Daily cleanup so the workplace remains presentable
- Final inspection before each room returns to use
Apply Paint for an Even, Durable Finish
After preparation and masking are complete, cut in the edges first. This means painting clean lines along ceilings, trim, corners, windows, doors, and fixtures with a brush. The larger wall areas are then rolled while the cut-in paint is still workable, helping the finish blend evenly.
Use quality rollers suited to the wall texture and paint type. A roller with too much nap can leave heavy texture, while one with too little nap may not cover evenly. Work in manageable sections and maintain a wet edge to avoid lap marks. Consistent application matters most on large walls that receive direct light from windows or overhead fixtures.
Most office repainting projects need two finish coats for consistent coverage, especially when changing colors. Follow the manufacturer’s drying and recoat times. Rushing the second coat may leave roller marks, weak adhesion, or uneven sheen. If a room must reopen quickly, build drying time into the schedule instead of treating it as an afterthought.
Inspect the Walls Before Removing Protection
Do not judge the work only while the paint is wet. As paint dries, minor issues become easier to see. Inspect walls from several angles and under the same lighting employees and visitors use every day. Look for missed spots, thin coverage, drips, rough patches, visible repairs, paint on trim, and uneven lines around frames and outlets.
Touch-ups should be completed before drop cloths, floor protection, and masking are removed. Once the area is clean, reinstall outlet covers, signage, artwork, and furniture carefully. Avoid pushing desks or chairs tight against freshly painted walls until the paint has had adequate time to cure.
When Professional Office Painters Make Sense
A small, empty office may be manageable for an experienced maintenance team. However, a working office with employees, client appointments, glass partitions, detailed trim, damaged drywall, or strict building requirements is usually better handled by a professional crew. The real value is not just faster painting. It is controlled preparation, clean containment, proper product selection, and a schedule that respects the business operating inside the space.
JXF Painting Service handles office painting projects with a practical, organized approach built around clean workmanship and minimal disruption. For offices in Toronto and the GTA, a site assessment can clarify the right scope, schedule, repair requirements, and finish before work begins.
Fresh office walls should make the workplace feel cared for, not create a week of disorder. Plan the repaint around the people using the space, give surface preparation the time it requires, and the finished walls will hold up long after the furniture is back in place.