
A popcorn ceiling can make an otherwise clean room feel dated fast, but removing it the wrong way creates a bigger problem than the texture itself. If you are researching how to remove popcorn ceilings safely, the first thing to understand is simple: this is not just a scraping job. Dust control, moisture management, surface repair, and asbestos risk all matter.
Before you remove anything, test the ceiling
If the home was built before the late 1980s, do not assume the texture is safe to disturb. Many older popcorn ceilings contained asbestos, and once that material is scraped, sanded, or broken apart, fibers can become airborne. That changes the job completely.
The safest move is to have the material tested before any removal starts. A lab test is straightforward and worth the cost. If asbestos is present, removal should be handled by a qualified abatement contractor, not treated like a standard home improvement project. This is one of those cases where trying to save money can create a serious health and liability issue.
Even if the ceiling tests clear, there is another layer to check. Some ceilings have been painted over once or several times. Painted popcorn is harder to remove with water and scraping, and in some cases it becomes more practical to skim coat over it or install new drywall instead of forcing removal.
How to remove popcorn ceilings safely: prep matters most
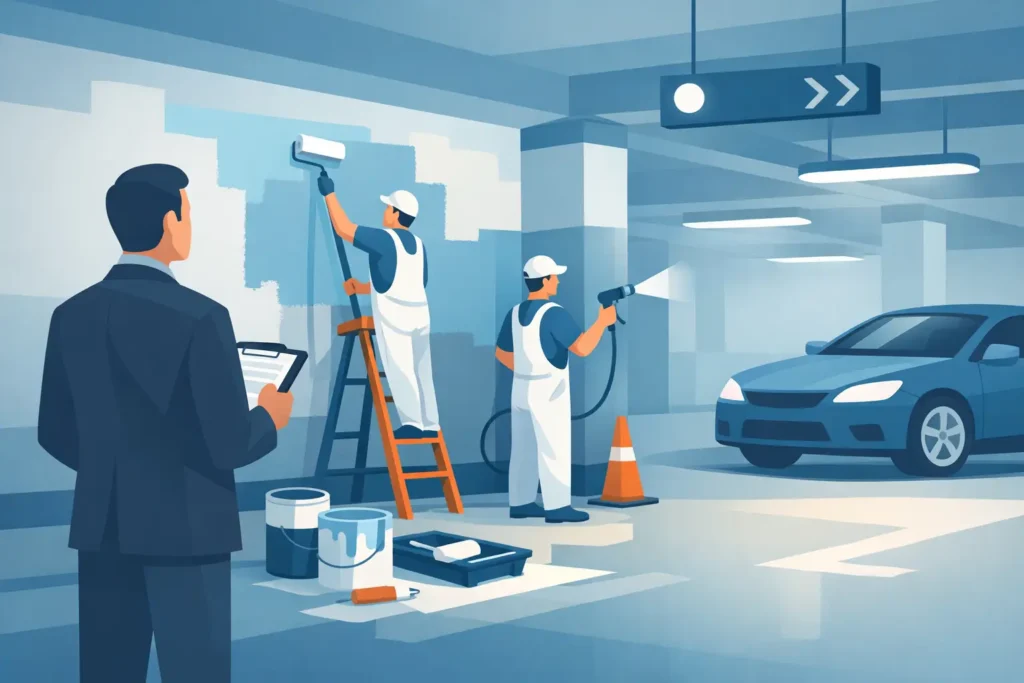
The mess from this job is not minor. Wet texture falls everywhere, and if the room is not protected properly, cleanup becomes expensive and time-consuming. Good prep is what separates a controlled project from a major disruption.
Start by clearing out as much furniture as possible. Anything that stays in the room should be wrapped tightly in plastic. Cover the floors with heavy plastic sheeting, not light drop cloths that allow moisture through. Tape plastic to the walls as needed, especially if you are trying to protect finished paint, trim, or adjacent surfaces.
Turn off HVAC serving the area and cover vents. That helps prevent dust and debris from moving into other parts of the property. Shut off power to ceiling fixtures, remove light covers and fans if possible, and leave enough lighting in the room to see flaws clearly. If you are working in an occupied home, it also helps to isolate the work area with plastic barriers at door openings.
Personal protection should be treated as standard, not optional. Wear eye protection, gloves, a proper respirator rated for fine particles, and disposable coveralls or work clothes you can wash immediately. A simple paper dust mask is not enough for a ceiling removal project.
The tools that make the job safer and cleaner
You do not need a truckload of equipment, but the right tools reduce risk and damage. A pump sprayer is commonly used to dampen the texture. A wide ceiling scraper or drywall taping knife helps remove softened material without gouging the drywall underneath. A ladder or stable work platform is safer than overreaching from the floor.
Keep a mud pan or debris bag nearby to catch falling material as you scrape. Some contractors use specialized scrapers with attached collection bags, which can help on smaller rooms. You will also want joint compound, sanding tools, primer, and ceiling paint ready for the finishing stage, because scraped ceilings almost always need repair before they look presentable.
One point that gets missed often: do not oversaturate the ceiling. Too much water can damage drywall paper, loosen tape joints, and create repair work you did not start with.
Wet scraping is usually the safest method
For non-asbestos ceilings that have not been heavily painted, wet scraping is usually the most controlled approach. Mist a small section of the ceiling and let the moisture soak in for several minutes. Work in manageable areas, not the entire room at once.
Test a small patch first. If the texture scrapes off with light pressure, the moisture level is about right. If it resists, wait a little longer or apply a bit more water. If the ceiling surface starts tearing, you are either using too much force or the texture has been painted and is no longer releasing cleanly.
Scrape carefully at a shallow angle. The goal is to lift the texture off, not carve into the drywall. If you gouge the ceiling repeatedly, the removal phase gets slower and the repair phase gets much larger. This is where patience matters. Fast scraping often leads to visible damage, uneven surfaces, and added finishing costs.
For painted popcorn, removal can turn into a rougher process. Sometimes scoring the paint lightly helps water penetrate, but that also increases the chance of damaging the drywall surface. In many real-world jobs, once the texture has been painted, a contractor may recommend skim coating rather than aggressive scraping.
Expect repairs after the texture comes down
A lot of property owners assume the ceiling will be ready for paint right after scraping. In practice, that is rare. Once the popcorn is removed, you may see old patches, tape seams, nail pops, staining, or surface damage that the texture had been hiding for years.
That means the next step is usually drywall repair and skim coating. Joint compound is applied to smooth imperfections and even out the surface. Depending on the condition of the ceiling, one coat may not be enough. After the compound dries, the ceiling is sanded smooth, primed, and then painted.
This part of the job is where finish quality is won or lost. A ceiling is one large flat surface, and it shows flaws quickly under natural light or overhead fixtures. If the goal is a clean modern look, the finishing work needs to be done with care. A rushed patch-and-paint job often leaves ridges, lap marks, and visible repairs.
When removal is not the best option
There are situations where scraping is technically possible but still not the best decision. If the popcorn has been painted multiple times, if the drywall underneath is weak, or if the ceiling has widespread cracking, covering or replacing the surface can be more efficient.
A skim coat can create a smooth appearance without fully tearing into the existing ceiling. In other cases, installing new drywall over the old ceiling provides a fresh surface with fewer surprises. This is especially relevant on larger properties, rental turnovers, or commercial spaces where speed, cleanliness, and predictable results matter as much as the method itself.
That is why safe removal is not always about scraping. Sometimes the safer and more cost-effective route is choosing the method that limits airborne dust, avoids structural damage, and produces a better final finish.
Should you do it yourself or hire a professional?
That depends on the ceiling, the age of the property, and your tolerance for risk and cleanup. A small bedroom in a newer home with unpainted texture is very different from a full main floor in an older house with unknown materials and occupied living areas.
DIY removal can work when testing has been done, the area is limited, and the person doing the work understands surface prep and finishing. But the hidden part of this project is what usually pushes owners toward a professional crew. It is not just scraping. It is containment, safe handling, drywall repair, skim coating, priming, painting, and leaving the property clean when the work is done.
For homeowners, landlords, and property managers, hiring an experienced contractor often means less disruption and a better finished ceiling in less time. That matters even more in busy properties where downtime, mess, and callbacks carry a real cost. Companies like JXF Painting Service handle these projects with the kind of prep, repair, and finish control that keeps the job moving and protects the surrounding space.
Common mistakes that make popcorn ceiling removal unsafe
The biggest mistake is skipping asbestos testing. The next is underestimating containment. Dust travels farther than most people expect, and once it gets into vents, flooring seams, or adjacent rooms, cleanup becomes much harder.
Another common problem is dry scraping. That creates more airborne debris and usually leads to rougher removal. Overwetting is the opposite error. It can damage the drywall and turn a straightforward texture removal into a ceiling restoration project.
Then there is the finish stage. Many ceilings are scraped and painted too quickly without enough repair work, which leaves an uneven surface that is obvious the moment daylight hits it. Safe removal is only half the job. A professional-looking result depends on what happens after the texture is gone.
If you want a smooth ceiling that improves the look and value of the property, treat the project like finish work from the start. Test first, protect the space properly, use the right removal method, and know when the smarter move is to bring in a qualified crew. That approach saves time, reduces risk, and gives you a ceiling that actually looks finished when the job is done.