You’re undoubtedly sick of looking at popcorn ceilings if you’ve lived with them for a long time. DIY popcorn ceiling removal, on the other hand, is a time-consuming technique that can rapidly go awry. The popcorn ceiling removal process must be done by a professional, no matter how skilled, artsy, or Pinterest-savvy you are. A home built before 1977 also necessitates extra vigilance owing to the possibility of asbestos contamination.
Are you curious as to what’s involved? So, here are the specifics!
Room Preparation
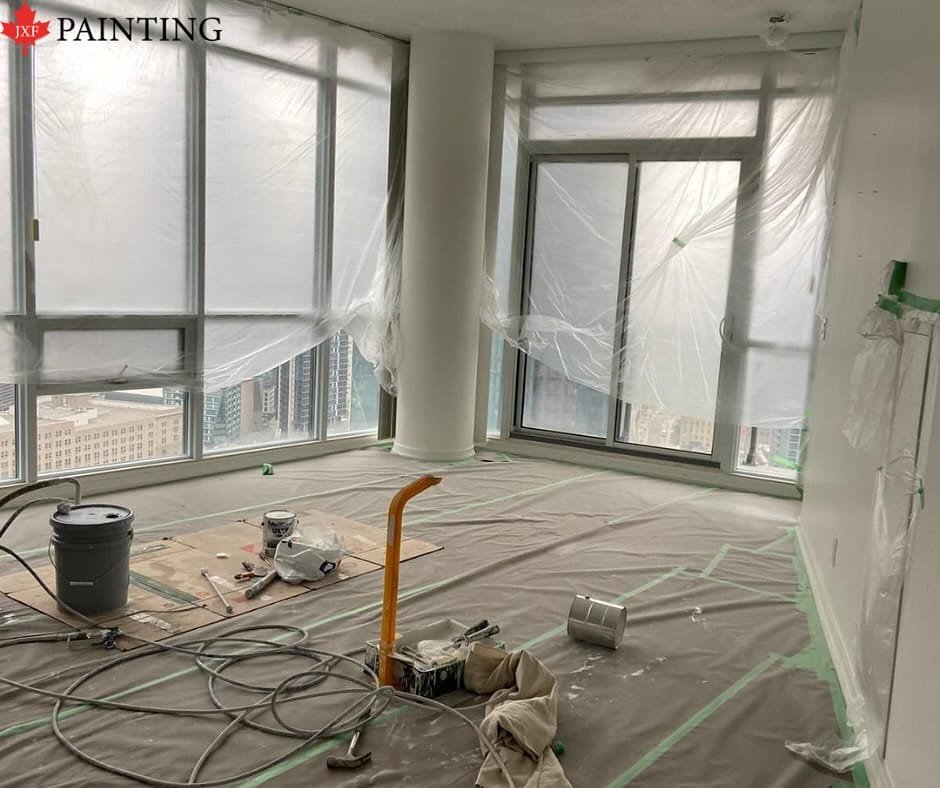
Before the initial scrape, we do a lot of prep work for popcorn ceiling removal. All furniture and other belongings must be taken out of the room or protected so that the walls and floor may be appropriately sealed.
Ceiling preparation
We’re ready to prep the ceiling once the room has been appropriately prepared. We spritz the popcorn texture with water to help break the binding and ensure a smooth and dust-free removal.
Removal
It’s now time to scrape. That’s where expert drywall finishing abilities and the right equipment come in handy.
Skim Coat
We evaluate the ceiling condition once the popcorn ceiling removal process is done. Is there any drywall that has to be patched? Are there any holes, nicks, or other damages? A skim coat applied over damaged areas hides flaws and ensures a clean, smooth finish.
Sanding
We’re ready to sand the entire ceiling after many skim coats have been applied and dried.
Applying the paint
A priming coat is applied. The top coat of your choice follows the primer coat.
What is the cost of removing popcorn ceilings?
The ceiling height, room layout, and ceiling texture determine the cost. Thick layers and intricate surfaces can be more challenging to remove, and other textured ceilings can risk the ceiling drywall.
The only way to know how much removing popcorn ceilings will cost to have a professional come to your home and inspect the situation.
There are several reasons to get rid of your popcorn ceiling.
1. It isn’t easy to keep them clean. Cobwebs and dust cling to the texture and, when wiped away, create a discoloration.
2. Repairing damage appropriately is difficult or impossible when a roof leak, hole, or other issue causes, unattractive areas; the popcorn ceiling removal process is nearly impossible.
3. Asbestos was used in popcorn ceilings before it was prohibited in 1977. As the risks of asbestos became more widely known, many structures underwent the difficult process of asbestos removal, yet asbestos remains in older homes today.
4. Popcorn ceilings are extremely difficult to remove for a homeowner.
Spend no more time looking at popcorn ceilings
It’s time to join the ranks of homeowners who have done the popcorn ceiling removal process in the past, whether you’re getting ready to sell your house, the new owner of a fixer-upper, or simply sick of gazing at those dingy textured ceilings.
We must first grasp its definition to understand how to do a popcorn ceiling removal process. Initially, the texture of this spray-on or paint-on ceiling coating was comprised of white asbestos, but it was replaced with a paper-based or Styrofoam product after the 1970s. Depending on the type of material used, the popcorn ceiling removal process could be a challenging task.
JXF Painting specializes in safe, clean, and professional popcorn ceiling removal, and we promise you’ll be pleased with the results.
Do not limit yourself to do-it-yourself initiatives. Our company would be happy to remove popcorn ceilings and replace them with smooth ceilings as part of your home remodelling project. Our team is well-trained and has years of experience.
Give us a call at our phone number (647) 889-7967 or send us an email at info@jxfpaintingservice.ca.


