
A repaint can make an apartment look newer, brighter, and easier to rent or sell, but poor preparation can turn a straightforward project into a delayed, messy expense. This apartment repainting planning guide helps tenants, landlords, condo owners, and property managers make the right decisions before the first wall is patched or the first gallon of paint is opened.
Start With Permission, Scope, and Timing
Before selecting colors, confirm who has authority to approve the work. Tenants should review their lease and get written approval from the landlord or property manager, especially if the proposed color is anything other than the existing neutral shade. Some leases allow repainting but require walls to be restored before move-out. Others require the owner to arrange the work.
Condo owners should also check building rules. Elevator reservations, loading access, permitted work hours, insurance requirements, and hallway protection can all affect the schedule. A professional crew needs enough time to move materials in, protect common areas, complete preparation, apply paint, and clean up without rushing the finish.
Define the scope room by room. A bedroom with light scuffs is not the same job as a kitchen with grease buildup, a bathroom with peeling paint, or a living room with wall anchors and drywall damage. Walk the apartment in daylight and note damaged areas, stained ceilings, chipped trim, nail holes, cracks, water marks, and surfaces that feel loose or chalky.
For rental units, it is also smart to document existing damage with dated photos before work begins. That protects both the tenant and the owner from disagreements over what was already there.
Build Your Apartment Repainting Plan Around Surface Condition
Paint only performs as well as the surface underneath it. Skipping preparation may reduce the upfront price, but it often leads to flashing, peeling, visible repairs, and an uneven sheen that makes the room look unfinished.
Repair the wall before choosing the finish
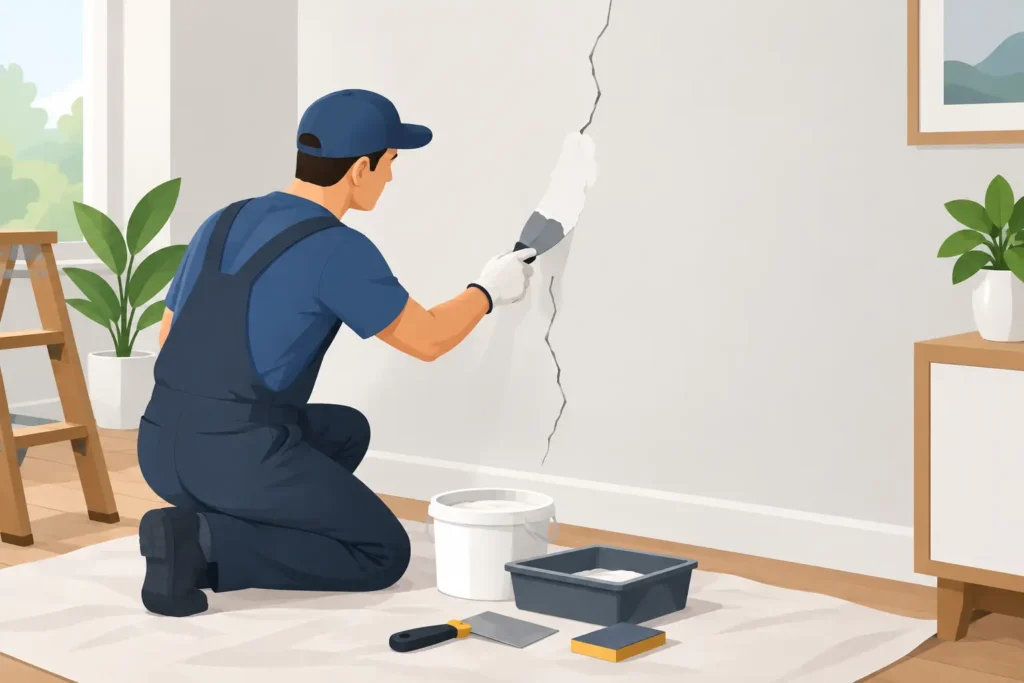
Small nail holes can usually be filled, sanded smooth, and spot-primed. Larger holes, loose drywall tape, dents, stress cracks, and damaged corners need more attention. If a repair is not feathered properly, it may show through even after two coats of paint.
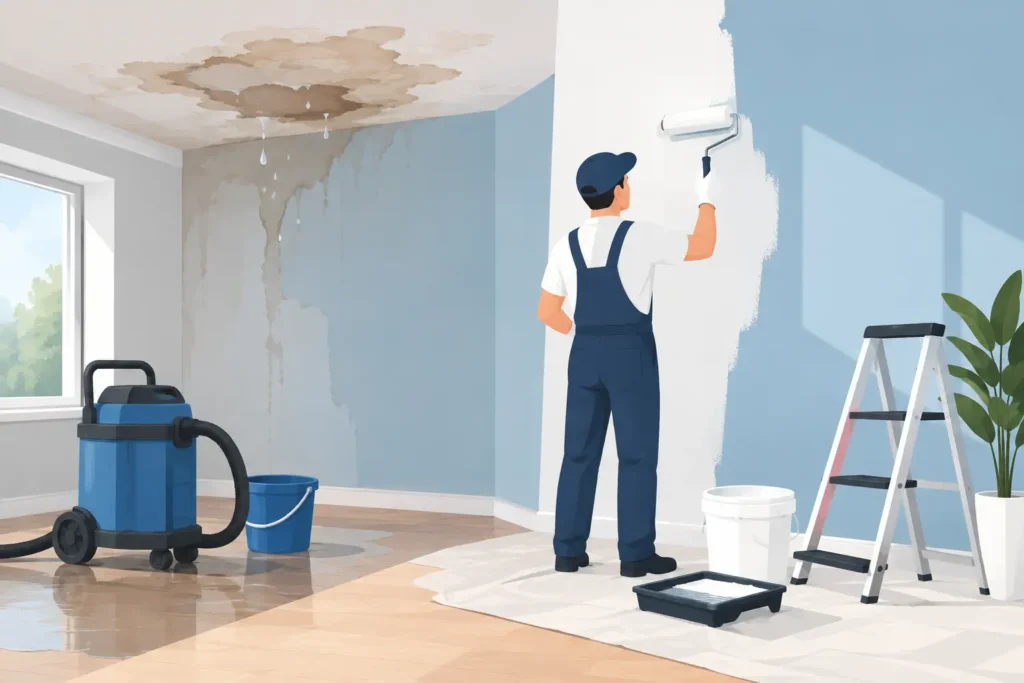
Water stains require a different response. Do not simply paint over them. First identify and correct the moisture source, whether it is a plumbing leak, a roof issue, condensation, or a bathroom ventilation problem. Once the area is dry and stable, use the appropriate stain-blocking primer before repainting. Painting over active moisture is a short-term cover-up, not a repair.
Kitchens and bathrooms need thorough cleaning before paint is applied. Grease, soap residue, and airborne oils can prevent proper adhesion. In older apartments, surfaces may also have several previous layers of paint. A professional assessment can determine whether sanding, priming, drywall repair, or more extensive surface preparation is needed.
Do not ignore ceilings, trim, and doors
A fresh wall color can make yellowed ceilings and scratched baseboards stand out more than before. Review the full visual package. Repainting ceilings can brighten a room dramatically, while clean white trim creates a sharper edge around newly painted walls.
Doors deserve special consideration in apartments because they take daily abuse. Entry doors, closet doors, and bathroom doors may need patching, degreasing, sanding, and a durable enamel rather than standard wall paint. The right product and preparation help prevent sticking, scuffing, and early chipping.
Choose Colors That Fit the Apartment’s Purpose
Color selection should match the goal of the project. A homeowner may want a personal palette that supports a long-term renovation. A landlord preparing a turnover usually benefits from a clean, broadly appealing neutral. A property manager may prioritize consistency across multiple units for easier maintenance and touch-ups.
Warm whites, soft greiges, light taupes, and pale gray-beiges remain practical choices because they reflect light and work with most flooring, cabinetry, and furniture. Pure bright white can look crisp, but it can also feel cold or highlight uneven walls when paired with certain lighting. Dark colors can add character, yet they generally require more careful application, better wall preparation, and extra coats for uniform coverage.
Always look at paint samples in the actual apartment. North-facing rooms, small windows, warm bulbs, and cool LED lighting can change how a color appears. Test samples on more than one wall and check them in morning, afternoon, and evening light before approving the final choice.
If the apartment is being listed for sale or rent, restraint usually pays off. The goal is not to create the most dramatic room possible. It is to present a clean space that helps prospective buyers or renters picture their own belongings in it.
Select the Right Sheen for Each Room
Sheen affects both appearance and maintenance. Flat paint hides minor wall imperfections well, but it can be harder to clean. Eggshell offers a low-sheen finish that works well in bedrooms and living areas where moderate washability is needed. Satin is more durable and easier to wipe down, making it a common choice for hallways, kitchens, and busy rental units.
Bathrooms and kitchens need paint suited to humidity and frequent cleaning. Semi-gloss is often used on trim, doors, and cabinetry because it stands up to wear, though its reflective surface can expose poor preparation. The best choice depends on the wall condition, room use, and desired appearance. A higher sheen is not automatically better if the walls have visible defects.
For landlords and facility managers, standardizing approved colors and sheen levels makes future touch-ups faster and more predictable. Keep a record of the paint brand, product line, color name, formula, and sheen for every unit.
Schedule the Work to Limit Disruption
A realistic schedule should include more than painting time. Preparation, repair drying time, primer, coats, curing, furniture movement, and final cleanup all affect the project duration. A one-bedroom apartment with minor repairs may be completed quickly, while a larger unit with ceiling work, drywall damage, trim painting, or multiple colors may need several days.
Vacant apartments are easiest to repaint because crews have unrestricted access and can work efficiently. Occupied apartments require more coordination. Residents should remove small valuables, wall décor, curtains, electronics, and fragile items before the crew arrives. Furniture can often be moved and covered, but a clear work area leads to better access and a cleaner result.
Plan around move-in and move-out dates carefully. Fresh paint can feel dry within hours, but it continues to cure after application. Avoid pressing furniture tightly against newly painted walls or reinstalling hardware too soon. If the unit needs cleaning, repairs, flooring, or appliance work, coordinate the order of trades so completed paint is not damaged by later work.
Get a Detailed Quote Instead of Comparing Price Alone
A useful painting quote should explain what is included. That means identifying the rooms, surfaces, prep work, number of coats, paint type, repairs, protection measures, cleanup, and any exclusions. An unusually low price may leave out patching, priming, ceiling work, trim, materials, or required building protections.
Ask how the contractor handles change orders if hidden damage is found after work begins. Old water damage, failing drywall tape, cracked plaster, or previous poor repairs can change the scope. Clear communication upfront prevents surprise costs and avoids arguments once the apartment is already in progress.
For Toronto and GTA apartment owners and managers, hiring an insured, experienced painting contractor also matters when work takes place in occupied buildings with shared hallways and elevators. JXF Painting Service scopes apartment work carefully, protects the work area, and delivers a professional finish without treating preparation as an afterthought.
Final Walk-Through: Check the Details in Good Light
Inspect the apartment after the paint has dried and before furniture, art, or window coverings go back in place. Look along walls from different angles for missed spots, roller marks, drips, rough patches, and thin coverage. Check cut lines at ceilings, trim, outlets, doors, and corners. Confirm that repaired areas blend into the surrounding surface rather than showing as raised or dull patches.
A professional repaint should leave the apartment looking clean, consistent, and ready for daily use. The best time to raise questions is during the final walk-through, when every wall and detail is still visible.
A well-planned repaint is not just a color change. It is a practical reset for the apartment, the people living in it, and the value it needs to hold over time.