For various reasons, installing drywall yourself might be a worthwhile DIY job. Installers of drywall are frequently in limited supply. And even if you find a sound installation, the labour expense may surprise you with typical drywall issues.
Drywall installation is a do-it-yourself project. However, keep in mind the inevitable common blunders that do-it-yourselfers make.
Drywall is not installed on a stud
Problem
All drywall sheet edges must rest on a solid surface, such as a stud. A hanging drywall edge may function in the short term but can lead to cracks and other significant wall difficulties in the long run. Sometimes the drywall does not reach a stud horizontally. Occasionally, typical drywall issues do not get a strong attachment point vertically.
Solution
When drywall extends a few inches past a stud, it should be trimmed vertically to hit its center point.
If the drywall is too small to reach a stud, a second stud can be sistered (or nailed beside) the first stud to give a drywall connection point.
If the drywall does not reach a substantial part vertically, a short piece of two-by-four cut to the width of the stud bay can be used, and it can be nailed horizontally on each side to fit into the bay.
Over-Sanding of Drywall Paper
Problem
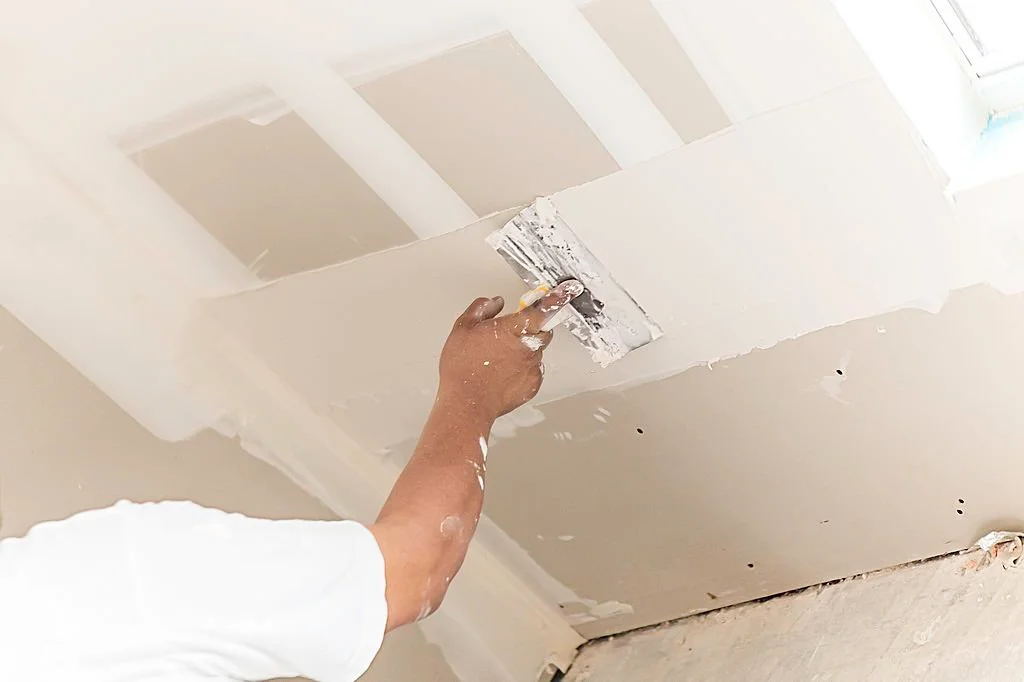
Many do-it-yourself drywallers vigorously sand the dried mud compound and joints to obtain a smooth surface.
However, going too far risks sanding into the paper or fibreglass tape covering the seams or even into the surface of the surrounding drywall, jeopardizing the installation’s integrity. Many homeowners have to retape seams because they sanded too aggressively.
Solution
Install a light at a low angle to the wall to monitor the sanding progress. This will emphasize any peaks or valleys.
If everything else fails, contact a drywall contractor for assistance.
The drywall screws have been driven too far
Problem
The screws or nails are driven excessively profoundly, causing the surface of the paper face of the wallboard to be broken. This is a more significant issue than you realize since once the paper face is broken, much of the screw or nail’s holding ability is lost.
Solution
Drive the screw head to the paper cover’s surface. Give it an extra quarter or half-turn to press it slightly below the surface.
Special drill attachments are provided to control the screw’s depth. If you’re using a screwgun, you can adjust the depth of the drive with a clutch. If you puncture the paper, don’t remove it; replace the failed screw with another.
Misaligned Electrical Box Holes
Problem
It’s extremely tough to cut a hole in the drywall and expect it to properly match up with an electrical receptacle that’s already fastened to the stud. Professionals are skilled at taking accurate measures; they do it every day. What about do-it-yourselfers?
Solution
There are several alternatives, but here are three. A straightforward option is to put lipstick on the receptacle’s edge, push the sheet of drywall against it, and cut along the lipstick impression. This is not the finest solution, but it will suffice if you don’t have any other options.
Another option is to run the electrical cables first and twist the ends together before installing the receptacle. Mark the box’s location on the floor with a square of painter’s tape. Then, put up the drywall. You don’t cut a hole until it’s properly installed.
This method necessitates retrofitting (old work) electrical boxes rather than the type that connects directly. The third way is the greatest, but it necessitates purchasing a specific tool known as a Blindmark.
After inserting a magnetic insert into the receptacle, drywall is installed. You locate the insert using another magnetic piece the same size as a receptacle face.
With a pencil, outline the second magnetic piece and cut around it. Perfect holes are frequently the outcome. If everything else fails, seek the services of a drywall contractor.
Drywall joints are too close together.
Problem
Tight drywall joints are preferred, but not so close that they cause issues.
If you have two adjoining sheets of drywall that fit side by side snugly, you risk the drywall splitting off in unexpected ways. Not only that, but the underlying framing members must be allowed to expand and contract, and The natural seasonal expansion of the wood structure might crack too-tight drywall joints.
Solution
Unfortunately, there is no way to turn back the clock. However, use a guide to ensure that the 1/8 inch spacing between sheets is maintained throughout installation. A drywall square’s blade is roughly 1/8-inch thick and works perfectly. As spacing guides, thin strips of wood can also be utilized.
Typical Drywall Issues – Drywall Joint Failure
Problem
All drywall panel joints should ideally fall over framing members, where both edges can be securely fastened down—top, bottom, and sides. This isn’t always achievable, and when a seam between panels falls over the air (known as a hanging joint), the connection is prone to break.
The temptation is to apply the tape and muck it over, hoping for the best. However, this impromptu solution is rarely successful, and such joints will fail and show obvious cracks in a matter of months.
Solution
Avoid hanging joints whenever possible. Furthermore, the longer the hanging joint is, the more probable it may fail.
So, for tall walls, cover the wall with long panels mounted horizontally, with studs every 16 inches to hold the hanging joints. Any dependent joint spanning more than 16 inches is likely to fail. Thus another option is to nail in an extra stud or sleeper blocking to offer a surface to fix the joint.